
Data A&E - Industry Leading Data Recovery
We are a professional data recovery company specialising in recovery services for:
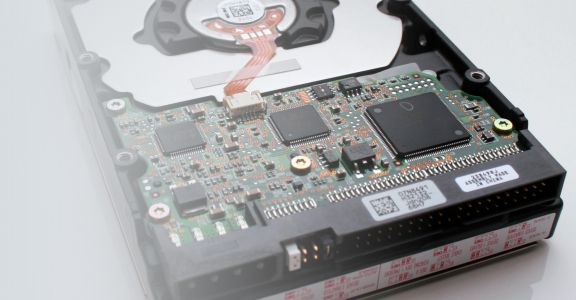
- Hard Disks, Desktop Computers, Laptops & Servers
- RAID Arrays, NAS, SAN
- Memory Cards & USB Flash Sticks
- Tape & Optical Media
- Class 100 clean air environment
We offer FREE Diagnostic evaluation and have a policy of No Data – No Fee! We use state of the art equipment and data recovery software. When you require the most successful data recovery service and quick turnaround, use Data A&E;, we have the best data recovery knowledge, the safest technology available, and affordable pricing.
Data recovery techniques involve extensive knowledge over and above normal computer skills. Data recovery requires a comprehensive understand of problems with hard disks such as firmware programming, electronics, mechanical engineering and machine-code computer programming. We have a 95% success rate in recovering data.
Data Recovery Is the process of salvaging data from damaged, failed, corrupted, or inaccessible storage media when it cannot be accessed normally. We explain the differing scenarios in detail here data recovery - a technical explanation.
If you have lost your valuable data, we can help!
What's special about how we work?
- easy to understand prices
- no data recovered, no fee payable
- friendly customer service team
- your data is kept safe and secure at all times
- no gimmicks - just professional data recovery
- latest state of the art equipment
- complete confidentiality
- your data returned to you - choice of options